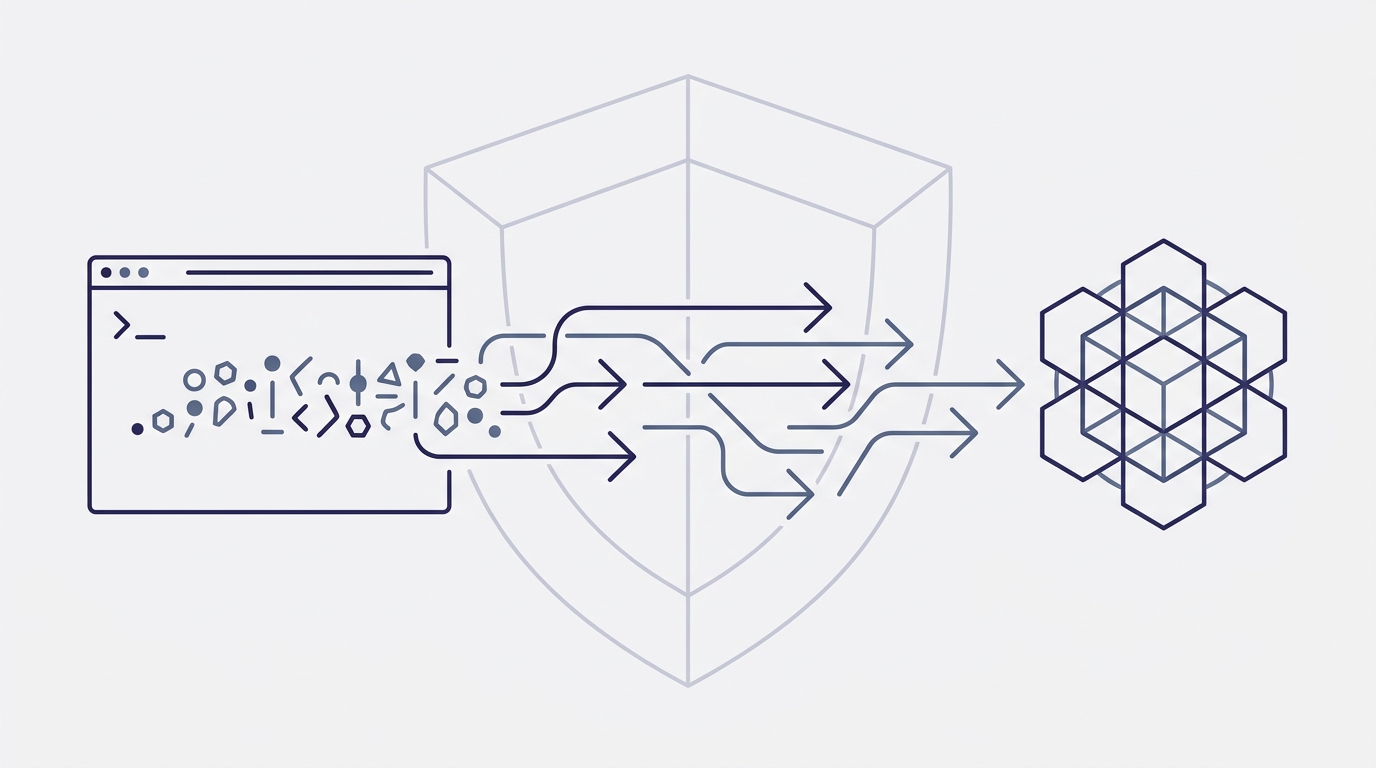
How to Cryptographically Timestamp Git Commits (Without CLI Tools)
Most developers treat git log as a reliable record of when work happened. But standard Git history is not cryptographically trustworthy: commit dates can be set to any value, history can be rewritten with force-push, and a repository hosted on GitHub can be changed by people with admin access. If a patent troll, a former contractor, or a competitor asks you to prove when a specific implementation existed, your local git log is often dismissed as self-serving.
This guide shows you how to cryptographically timestamp Git commits without installing OpenTimestamps, running a Bitcoin node, or learning raw command-line tools. You will use Timestamp GIT, a managed GitHub App that reads only your commit hashes, batches them nightly, anchors them into Bitcoin, and writes back .ots proof receipts. By the end, every commit to a monitored repository will be verifiable against the Bitcoin blockchain.
If you are new to the underlying concept, see Proof of Existence in Software: A Beginner’s Guide. This article stays focused on the setup task.
Prerequisites
You do not need any cryptographic expertise, but you do need:
- A GitHub account with at least one repository you want to protect.
- Access to the Timestamp GIT GitHub App, available from the Timestamp GIT website.
- Basic familiarity with normal Git workflows such as committing and pushing.
- A public repository if you want to start for free. Private repositories are available on paid plans.
No local installation, OpenTimestamps client, or Bitcoin wallet is required for the standard setup.
Step-by-Step: Setting Up Automatic Timestamping
Step 1: Install the Timestamp GIT GitHub App
Start from the Timestamp GIT website or the GitHub Marketplace. Click Install GitHub App, choose whether the app should be installed on your personal account or an organization, and complete the GitHub authorization flow.
The app becomes a managed service: after installation, it monitors selected repositories and anchors commits automatically. You do not need to add post-commit hooks or change your developer workflow.
Step 2: Grant the Required Permissions
Timestamp GIT works in two modes:
- Standard Mode: The GitHub App reads only the latest commit hash from your source repository. Because GitHub’s permission system has no “commit hash only” access, the app requires read-only access to the source repository. It also requires read-write access to the target repository where proof files will be written.
- Enterprise ZK Mode: A short GitHub Action runs on your infrastructure and pushes only the commit hash to the Timestamp GIT API. In this mode, no read access to the source repository is required. You only need read-write access to the target repository where proofs are stored.
For most users, Standard Mode is the right place to start. The important point is that Timestamp GIT never reads your source code in either mode.
Step 3: Select the Repositories to Monitor
During installation, choose whether the app should monitor all current and future repositories or only selected repositories. If you are testing with a public repository, select that repository now.
The proof files can be written to the same repository on a dedicated branch, or to a separate shadow repository. Using the same repository is common for small projects. A separate shadow repository is useful if you want to keep proof files completely out of the main repository.
Step 4: Confirm the Setup in the Dashboard
After installation, open https://timestampgit.dev/repos. You should see your monitored repositories listed there.
Check that:
- The source repository appears in the list.
- The proof target is configured as expected.
- The repository is marked as active.
If the repository does not appear, revisit the GitHub App installation settings and confirm that the correct repositories are selected.
Step 5: Make a New Commit
Timestamp GIT only processes commits made after the repository is connected. Create a normal commit and push it:
git add src/validation.js
git commit -m "Add payment validation logic"
git push origin main
You do not run anything else. The GitHub App detects the new commit automatically through webhooks.
Step 6: Wait for the Nightly Batch Process
Timestamp GIT does not anchor each commit immediately. Commits are collected in a queue, and a nightly worker groups them shortly after midnight UTC.
The worker:
- Creates a manifest file for each repository.
- Builds a Merkle tree from the pending commit hashes.
- Creates OpenTimestamps proofs.
- Anchors the Merkle root into the Bitcoin blockchain.
Bitcoin confirmation normally takes several hours. The full proof-writing process can take a few hours in total, so do not expect a badge or status page to update within minutes of pushing your commit.
Step 7: Check the Proof Delivery
Once the batch is confirmed, Timestamp GIT pushes the proof files back to your chosen target. You will see a dedicated timestamps branch or a shadow repository containing:
manifests/2026-08-25.txt
proofs/2026-08-25.ots
The .ots file is your cryptographic receipt. You can keep it, publish it, or hand it to an auditor. The proof is independent of Timestamp GIT’s infrastructure.
How to Confirm It Worked (Verification)
The fastest way to confirm that timestamping is live is to open the repository status page:
https://timestampgit.dev/status/{user}/{repo}
Replace {user} and {repo} with your GitHub username or organization and repository name. The status page shows the earliest anchor date, daily regularity, Bitcoin block and transaction data, and a calendar heatmap.
For a machine-readable check, you can call the public status API:
curl -s https://timestampgit.dev/api/statusLast/octocat/hello-world
The response contains the last anchored Bitcoin block information. For private repositories, the URL includes an encrypted HMAC so that only authorized users can access the status.
To display proof status directly in your README, open the repository dashboard and copy the embeddable badge markdown. It will look similar to this:
[](https://timestampgit.dev/status/YOUR_USER/YOUR_REPO)
The dashboard provides the complete snippet, including the correct Shields.io badge URL for your repository.
For a deeper proof check, visit:
https://timestampgit.dev/verification/{user}/{repo}/{date}
That page walks through the Merkle chain verification locally in your browser. You can also download a PDF certificate for a specific date or export the full audit ledger as CSV from the status dashboard.
If you want to verify the .ots file entirely independently, you can download it and check it against the Bitcoin blockchain using open-source OpenTimestamps tools. Timestamp GIT does not require you to do this manually, but the option exists because the proof is vendor-independent. For a dedicated walkthrough, see How to Verify Your Git Commit Timestamps.
Troubleshooting Common Issues
Issue: No proof appears after a commit.
Solution: Confirm that the repository is still selected in the GitHub App installation settings. Also confirm that the commit was made after installation. Commits made before the app was connected are not processed retroactively.
Issue: The proof branch was not created.
Solution: Check that the app has write access to the target repository. If you are writing proofs to a different repository, that target must have read-write access. Using a shadow repository often resolves this cleanly.
Issue: The verification badge shows an unknown or stale status.
Solution: Wait for the nightly batch to complete and for Bitcoin confirmation to occur. This normally takes several hours after midnight UTC. Refresh the badge after the proof files have been written back.
Issue: Private repository status is not visible to others.
Solution: Private repository status URLs include an encrypted HMAC. Use the authenticated badge link from the Timestamp GIT dashboard rather than the public status endpoint.
Issue: You need an air-gapped or self-hosted deployment.
Solution: Timestamp GIT is available as a Docker self-hosted license. A minimal Docker Compose setup looks like this:
services:
  timestampgit:
    image: rue1401/timestampgit:prod
    ports:
      - "8080:8080"
    volumes:
      - ./data:/app/data
      - ./license.lic:/app/license.lic:ro
    restart: unless-stopped

  valkey:
    image: valkey/valkey:8
    restart: unless-stopped
After startup, the application is available at http://localhost:8080, and a setup wizard guides you through connecting your GitHub App. A time-limited demo license is available from the Docker license page.
FAQ
How does Timestamp GIT cryptographically timestamp my Git commits?
Timestamp GIT extracts the SHA-1 or SHA-256 hash of each commit, batches those hashes daily, builds a Merkle tree, and anchors the Merkle root into the Bitcoin blockchain using the OpenTimestamps protocol. This creates an immutable proof that the commit existed at that time.
Do I need to run any CLI tools or understand OpenTimestamps?
No. Timestamp GIT is a managed GitHub App. Once installed, it automatically monitors your repositories and anchors commits every night. You do not need to run any commands or manage the underlying protocol.
Is my source code exposed during timestamping?
No. Timestamp GIT only reads the commit hash, which is a cryptographic fingerprint, not the actual code. In Enterprise ZK mode, even the commit hash is pushed from your infrastructure via a GitHub Action, so your source code never leaves your environment.
Can I verify the timestamp independently without relying on Timestamp GIT?
Yes. The proof is stored as a standard .ots receipt file. Anyone can download it and verify it against the Bitcoin blockchain using open-source OpenTimestamps tools. The proof remains valid even if Timestamp GIT disappears.
Conclusion
You now have automatic cryptographic timestamping for your Git commits. After a one-time GitHub App installation, every commit to a monitored repository is batched nightly, anchored into Bitcoin, and converted into a verifiable .ots proof receipt. The process requires no local CLI tools, no manual OpenTimestamps commands, and no Bitcoin expertise.
Public repositories can start for free. Private repositories are available on paid plans. Install the GitHub App today and make your commit history legally defensible.
Related posts
- Timestamp GIT Pricing: Plans for Every Developer
- Proof of Existence in Software: A Beginner’s Guide
- How to Verify Your Git Commit Timestamps
- Defend Your Software Against Patent Trolls with Timestamps
- OpenTimestamps vs Timestamp GIT: Which Is Right for Your Code?
- Set Up Automatic Git Commit Timestamping in Minutes