Self-Hosted Git Timestamping with Docker: A Guide
The repetitive manual task you are eliminating is this: every time you want cryptographically defensible proof that a Git commit existed on a certain date, you either run timestamping commands by hand or you push metadata to a service you do not fully control. For startups, dev shops, and compliance-minded teams, that creates a gap. Manual steps get skipped. External dependencies raise data-sovereignty questions. Regulated or air-gapped environments often cannot use a managed SaaS at all.
The hard way is running OpenTimestamps yourself and babysitting each receipt. The practical way is to deploy Timestamp GIT as a self-hosted Docker application: the same GitHub App-based automation, nightly Bitcoin anchoring, and verification badges run on infrastructure you own.
If you need a refresher on why proof of existence matters in software before continuing, see Proof of Existence in Software: A Beginner’s Guide.
Why Self-Host Git Timestamping?
Self-hosting Timestamp GIT is not about avoiding the managed service. It is about running the identical automation behind your own firewall, with your own data volume, your own license, and your own network rules. That matters when:
- You need data sovereignty and do not want commit metadata leaving your environment beyond the Bitcoin anchoring step.
- You operate in a regulated or air-gapped setting where third-party SaaS connections are restricted.
- You want full control over the GitHub App credentials, storage location, and log access.
- You need an audit-friendly deployment that stays under your team’s operational control.
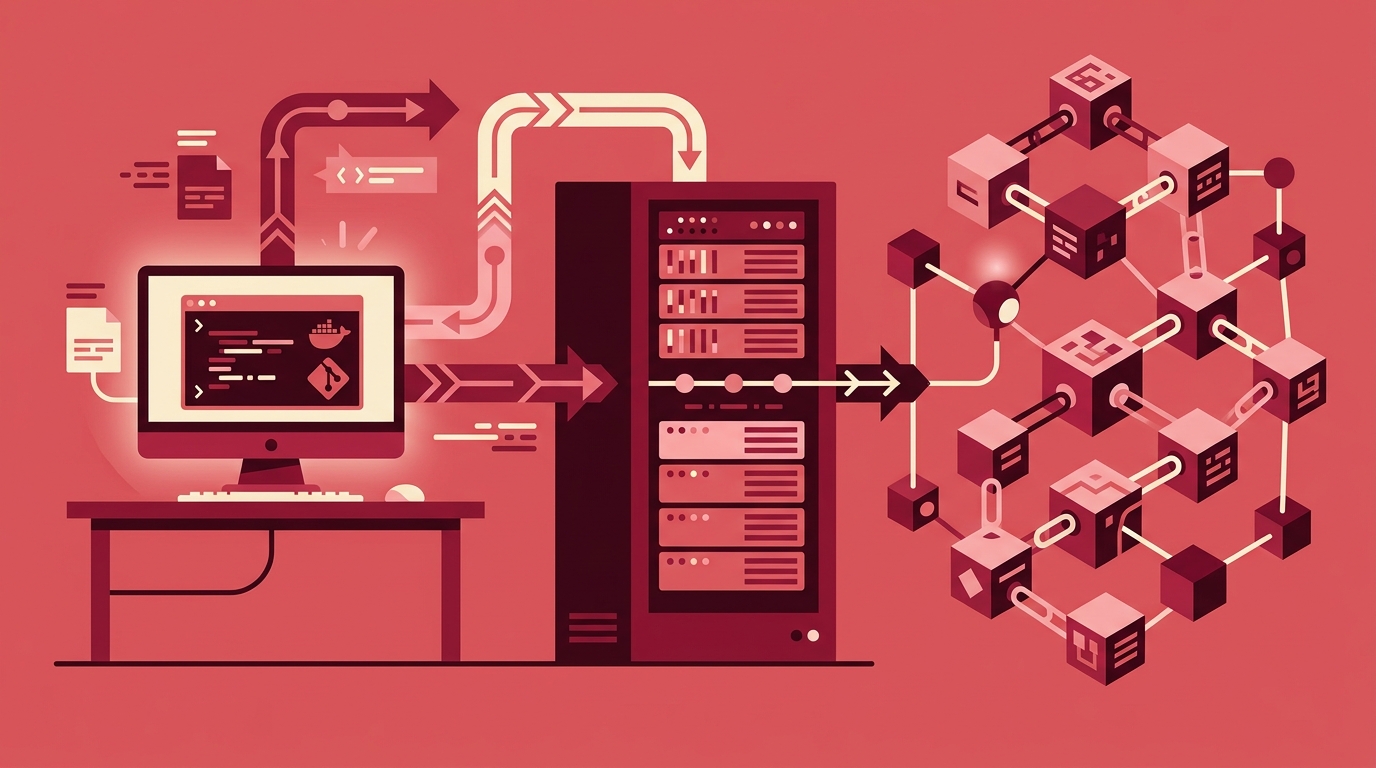
The Docker self-hosted option gives you the same automated pipeline: install the GitHub App once, connect repositories, and let the instance group commit hashes each night, build Merkle proofs, and anchor them into Bitcoin. After the one-time setup, there is no manual timestamping step.
One-Time Setup: Deploying Timestamp GIT with Docker
The deployment is a single Docker Compose stack with two services: the Timestamp GIT application and a Valkey instance used as the hash queue.
Create a docker-compose.yml file with the exact configuration from the product documentation:
services:
  timestampgit:
    image: rue1401/timestampgit:prod
    ports:
      - "8080:8080"
    volumes:
      - ./data:/app/data
      - ./license.lic:/app/license.lic:ro
    restart: unless-stopped
  valkey:
    image: valkey/valkey:8
    restart: unless-stopped
Then run:
docker compose pull
docker compose up -d
docker compose logs -f timestampgit
The application becomes available at http://localhost:8080 after startup. On first launch, a setup wizard guides you through connecting your GitHub App and configuring your instance. This is where you complete the one-time integration. You do not install anything on developer machines, and you do not repeat manual timestamping steps later.
You need a license file mounted at ./license.lic. A time-limited demo license is available by filling out the request form on the Docker License page with your name, company, email, and optional phone number. For production use, use a commercial license.
After the wizard completes, the ongoing timestamping process is fully automated.
The Automated Pipeline: From Commit to Bitcoin Anchor
Once deployed, the self-hosted instance runs the same zero-setup workflow as the managed Timestamp GIT service.
Commit detection
There are two detection modes:
- Standard Mode (GitHub App): The GitHub App detects new commits via webhooks. It reads only the HEAD commit hash of each monitored repository and sends that hash to your self-hosted instance.
- Enterprise ZK Mode: A 12-line GitHub Action runs on your infrastructure and pushes only the commit hash to the Timestamp GIT API. In this mode, source code never leaves your environment, and the Timestamp GIT instance needs no read access to the source repository.
Hash queue and nightly batching
Incoming commit hashes are stored in the Valkey-backed queue. Each night, a cron worker inside the Timestamp GIT container:
- Groups all pending hashes for each repository.
- Creates a daily manifest file (
.txt) for each repo. - Builds a Merkle tree natively.
- Creates OpenTimestamps proofs using public OTS calendars.
- Anchors the Merkle root into the Bitcoin blockchain.
Proof delivery
The manifest and .ots receipt files are pushed back to a dedicated timestamps branch or a shadow repository, depending on how you configured the GitHub App. This happens automatically after the Bitcoin anchor is confirmed.
Bitcoin confirmation normally takes a few hours, so proofs do not appear instantly after midnight. If you commit at 15:00, that hash is picked up the next nightly run and is typically anchored and delivered a few hours later.
Monitoring and Failure Handling
You can monitor anchoring status directly through the API endpoints exposed by your self-hosted instance.
Status endpoints
For any public repository, you can query:
curl https://timestampgit.example.com/api/statusLast/acme/checkout-service
This returns JSON with the last anchored Bitcoin block information.
curl https://timestampgit.example.com/api/statusCount/acme/checkout-service
This returns the total committed and stamped commit count.
curl https://timestampgit.example.com/api/statusSummary/acme/checkout-service
This returns a combined summary suitable for Shields.io badges.
Private repositories append an encrypted HMAC to the URL, so only authorized users can view their status. The HMAC is specific to your self-hosted server instance.
Public dashboard
Each repository also has a public status dashboard at:
https://timestampgit.example.com/status/{user}/{repo}
This page shows proof longevity, earliest anchor date, daily regularity, Bitcoin block and transaction data, a calendar heatmap, a downloadable audit CSV, and a PDF certificate.
Failure scenarios
- If the cron worker fails, check the container logs:
docker compose logs -f timestampgit
- If the Bitcoin network delays confirmation, the status endpoints will not yet show a new anchor. This is usually temporary.
- The self-hosted instance stores its data in the
./datavolume. Restarting or recreating the containers does not lose queued hashes or configuration. - Set up alerts based on the status API or log output. A daily check of
/api/statusLastis enough for most teams. If the last anchor date stops advancing, investigate the container and outbound network access.
Best Practices for Self-Hosted Git Timestamping
- Restrict network access to the Docker host. Use firewall rules and reverse proxies. Only expose the ports that need to be reachable by GitHub webhooks or your internal network.
- Back up the
./datavolume and thelicense.licfile. The volume holds queued hashes and instance configuration. The license file must remain readable by the container. - Use a dedicated GitHub App with minimal permissions. In Standard Mode, the app needs read-only access to source repositories and read-write access to the target repository where proofs are stored. Enterprise ZK Mode requires read-write access to the target repo only.
- Prefer a shadow repository for proofs. This keeps your main repository clean and separates source history from timestamp receipts.
- Regularly verify timestamps. Use the public verification page or API to confirm that
.otsreceipts still verify against Bitcoin block data. This is especially important before a legal or compliance event. - Update container images deliberately. Use
docker compose pullon a maintenance window and verify the new version against a staging instance before rolling to production.
FAQ
Q: Can I run Timestamp GIT in a completely air-gapped environment?
A: Yes, the Docker self-hosted version is designed for maximum security and can run in air-gapped environments. However, it still needs to anchor to the Bitcoin blockchain, so the instance must have outbound internet access to reach Bitcoin nodes or OpenTimestamps calendars. If full air-gap is required, you may need a proxy or relay for the anchoring step.
Q: How do I get a license for the Docker self-hosted version?
A: You can request a time-limited demo license by filling out the form on the Docker License page with your name, company, email, and optional phone number. A license file will be provided for evaluation. For production use, contact the vendor for a commercial license.
Q: Does the self-hosted version require a GitHub App?
A: Yes, the self-hosted Timestamp GIT instance still uses a GitHub App to detect commits and push proofs back to your repositories. During the setup wizard, you will connect your GitHub App credentials. The app requires read-only access to source repositories and read-write access to the target repository where proofs are stored.
Q: What are the resource requirements for running Timestamp GIT with Docker?
A: The product information does not specify exact resource requirements, but the Docker Compose includes two services: the Timestamp GIT application and a Valkey (Redis-compatible) instance for the hash queue. For small to medium teams, a modest VPS with 1-2 GB RAM should suffice. Monitor resource usage and scale as needed.
Conclusion
Self-hosted Git timestamping with Docker removes the manual busywork from prior-art protection. You deploy the stack once, connect the GitHub App, and every commit to a monitored repository flows through an automated pipeline: hash detection, nightly batching, Merkle proof creation, Bitcoin anchoring, and proof delivery back to your repo.
That is the difference between a legal safeguard you actually use and one that becomes a chore. If you are ready to deploy, start with the Docker Compose stack above and request a demo license from the Docker License page. For teams that prefer not to operate their own instance, the managed Timestamp GIT service offers the same automation without self-hosting.
Related posts
- How to Cryptographically Timestamp Git Commits (Without CLI Tools)
- Timestamp GIT Pricing: Plans for Every Developer
- Proof of Existence in Software: A Beginner’s Guide