GitHub App Blockchain Timestamp Setup: Install Once, Timestamp Forever
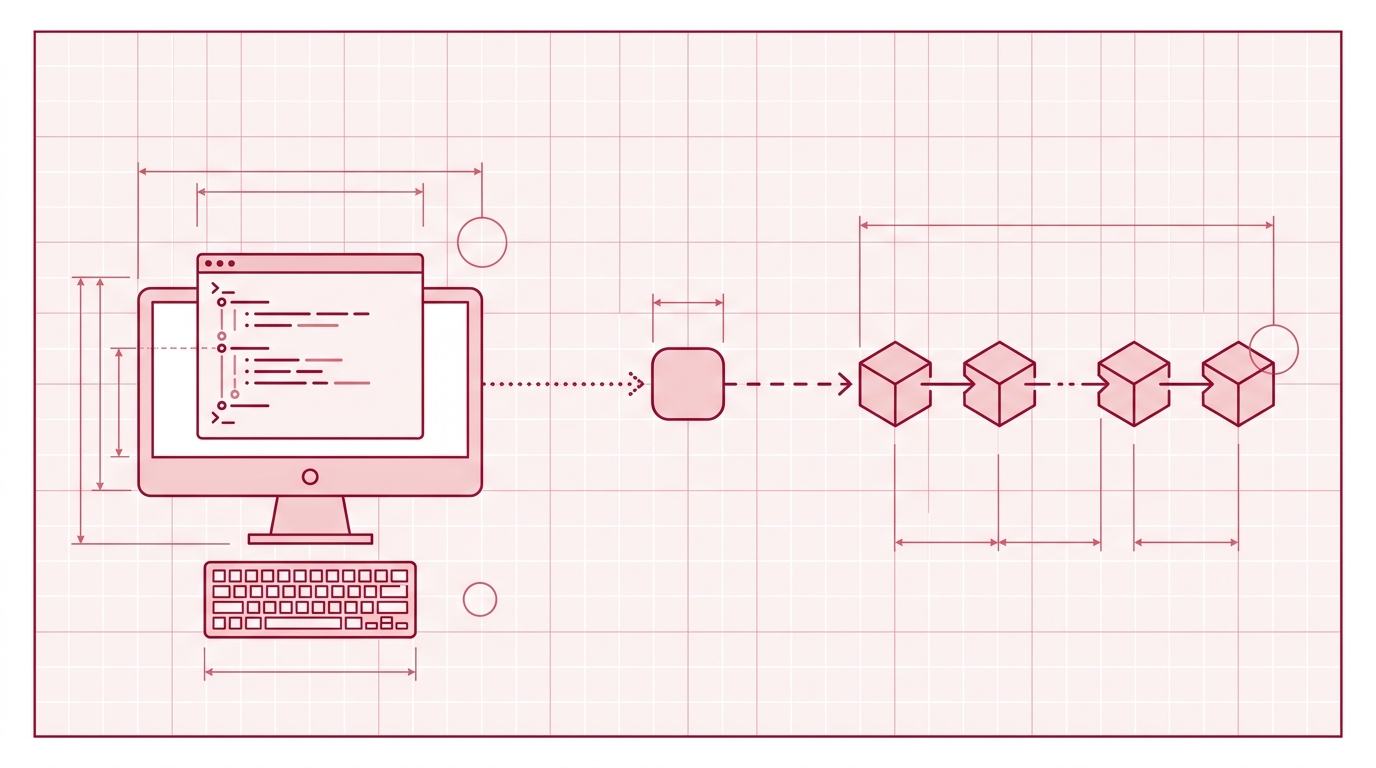
Here’s the task in one sentence: install the Timestamp GIT GitHub App on a repository so that every commit you push is automatically anchored into the Bitcoin blockchain each night — no CLI tools, no manual steps, no changes to how your team works.
You can absolutely do this the hard way: run OpenTimestamps tooling yourself, manage calendars, build your own Merkle batching, and babysit Bitcoin confirmations. That’s a part-time job. Timestamp GIT exists so it isn’t your job at all. This guide walks through the setup path we recommend: one install, one repository selection, one configuration screen, and then a nightly pipeline you never have to think about again.
By the end you’ll have a daily .ots receipt for your commits, a verification badge in your README, and a public status dashboard that anyone — a lawyer, an auditor, a client — can check without an account.
What You’ll Set Up (and Why It’s a One-Time Job
The exact task: connect a repository to the GitHub App so that commit detection, hash batching, Bitcoin anchoring, and proof delivery all happen without you.
What you get out of it:
- One immutable
.otsreceipt per day — a cryptographic proof that a specific set of commit hashes existed on a specific date. - A verification badge you can drop into your README so the proof status is public.
- A status dashboard with anchor dates, Bitcoin block and transaction data, daily regularity, and downloadable audit exports.
The division of labor is worth internalizing, because it explains why the setup is a one-time job:
- The GitHub App detects commits via webhooks.
- Timestamp GIT batches the commit hashes at midnight, builds a Merkle tree, and anchors the Merkle root into Bitcoin using the OpenTimestamps protocol.
- The manifest and
.otsreceipt files are pushed back into a dedicatedtimestampsbranch or a shadow repository you control.
Two deployment modes exist, and this guide follows the first:
- Standard mode (GitHub App) — fully managed, no code in your CI, reads only the HEAD commit hash of monitored repositories.
- Enterprise ZK mode — a small GitHub Action running on your own infrastructure pushes only commit hashes to the Timestamp GIT API, and only read-write access to the target proof repository is required.
If you need the conceptual background on why any of this matters — patent trolls, employee disputes, “clean room” claims — read What Is Cryptographic Prior Art? first. This article assumes you’ve decided you want it and now want it running.
Prerequisites Before You Install
- A GitHub account with admin rights on the target repository (public or private).
- A Timestamp GIT account with a plan matching your repo visibility: Open Source (free, public repos), Pro Agency ($49/mo, private repos), or Enterprise ZK ($199/mo, GitHub Actions).
- A decision on where proofs should live: a dedicated
timestampsbranch in the same repository, or a separate shadow repository. - Clarity on the permission model: Standard mode requires read-only access to the source repo and read-write access to the target repo. Enterprise ZK mode requires read-write access to the target repo only, plus a GitHub Action installed in your source repo.
- Basically nothing else. There is nothing to install on developer machines. No local config, no hooks, no environment variables per developer.
Step 1 — Install the Timestamp GIT GitHub App
- Navigate to the Timestamp GIT GitHub App listing and click Install.
- Choose the GitHub account or organization that owns the repository.
- Select Only select repositories and pick the repo(s) you want monitored — or grant access to all repositories in the account.
- Approve the requested permissions. In Standard mode that means read-only access to the source repo (GitHub’s permission system has no “commit hash only” scope) and read-write access to the target repo where proofs are written.
- Confirm the redirect back to Timestamp GIT and wait for the success message.
That’s the install. It’s a normal GitHub App OAuth-style flow, and it takes about a minute.
Step 2 — Connect and Configure Your Repository
Head to Your Repositories (/repos) and confirm the newly accessible repository appears in the list. If it doesn’t show up, you almost certainly selected the wrong account during install.
Then open the repository connection page and configure the destination for your proofs:
- Same repository, dedicated branch — proofs land on a
timestampsbranch alongside your code. Simple, self-contained, easy to find. - Separate shadow repository — proofs land in a repo of your choosing. Useful when the source repo has a restricted audience or when you want one central proof ledger across many projects.
If you’re using a shadow repo, create or select it and confirm that Timestamp GIT has read-write access to it. A missing or revoked permission here is the single most common cause of “why is nothing showing up” later.
While you’re on this page, enable the README badge. The connection page renders a live preview of the Shields.io badge and hands you the exact markdown snippet — don’t hand-write the URLs, since private repos require an instance-specific HMAC component.
Save the configuration. The app is now armed: from this point on, webhooks tell it about every new commit on the monitored branch.
Step 3 — Let the Nightly Anchoring Run (and Know What to Expect)
Nothing else is required from you. Here’s what happens at midnight:
- Commit detection — the GitHub App has already captured new commit hashes via webhooks.
- Hash queue — the hashes sit in an in-memory key-value store, waiting for the batch window.
- Midnight cron worker — pending hashes are grouped, a manifest
.txtfile is generated per repository, a Merkle tree is built natively, OpenTimestamps proofs are created using public OTS calendars, and the Merkle root is anchored into the Bitcoin blockchain. - Proof delivery — the manifest and
.otsreceipt files are pushed back into your repository’stimestampsbranch or shadow repo.
What shows up in the target repository looks roughly like this:
timestamps/
  manifests/
    2026-10-18.txt        # the commit hashes batched that day
  proofs/
    2026-10-18.txt.ots    # the OpenTimestamps receipt for that manifest
Timing expectations. The batch runs at midnight, and Bitcoin confirmation takes several hours — normally around three. So if you push at 09:00, expect proofs to land mid-morning the following day. This is a Bitcoin property, not a bug in the pipeline.
What leaves your repository: only commit hashes. Timestamp GIT never reads, copies, or stores your source code. The source stays in GitHub (or, in Enterprise ZK mode, in your own environment entirely) and only the hash is stamped.
And then it repeats. Every night, forever, for every future commit. You installed once; the pipeline handles the rest.
Step 4 — Add the Verification Badge to Your README
Grab the markdown snippet from the repository connection page — the same data is available programmatically from the authenticated GET /api/badgeLink/{user}/{repo} endpoint, which returns badge URLs and markdown snippets.
The snippet has this shape (use the copy button; the actual URLs are instance- and repo-specific, especially for private repos):
[](<status-page-url>)
Paste it into your README, commit, and push. Anyone clicking the badge lands on the public verification view — no account, no login, no special knowledge required.
A note on private repos. Status URLs for private repositories append an encrypted HMAC. That means only authorized users can see the proof status, while the underlying Bitcoin anchor remains publicly verifiable by anyone holding the .ots file. The HMAC is specific to your server instance, which is why you should copy the badge URL rather than constructing it.
Optional but nice: embed the same badge in an internal docs site or an engineering dashboard. It’s just an image URL plus a link.
Step 5 — (Optional) Self-Host with Docker for Air-Gapped Environments
Choose self-hosting when you want maximum security, an air-gapped network, or strict data-residency guarantees that a managed service can’t satisfy.
A quick-start Docker Compose setup looks like this:
services:
  timestampgit:
    image: rue1401/timestampgit:prod
    ports:
      - "8080:8080"
    volumes:
      - ./data:/app/data
    restart: unless-stopped
  valkey:
    image: valkey/valkey:8
    restart: unless-stopped
Then pull and start it:
docker compose pull
docker compose up -d
docker compose logs -f timestampgit
After startup the application is available at http://localhost:8080. On first launch, a setup wizard walks you through connecting your GitHub App and configuring your instance.
A time-limited demo license for evaluation is available by submitting the request form on the Docker License page (/docker-license) with your name, company, email, and an optional phone number. A time-limited demo license file can be downloaded once approved.
How to Confirm It Worked
Give it one full cycle (midnight batch plus roughly three hours), then verify:
- Status dashboard — open
/status/{user}/{repo}. You should see proof longevity, earliest anchor date, daily regularity, Bitcoin block and transaction data, and a calendar heatmap. - Audit CSV —
GET /api/audit/{user}/{repo}downloads the full audit ledger. - PDF certificate —
GET /api/report/{user}/{repo}/{date}produces a certificate for a specific day. - Merkle chain walk —
/verification/{user}/{repo}/{date}shows the multi-level verification step by step. All computation happens locally in your browser, so nobody — including us — sees what you verify. - Public status endpoints — quick sanity checks:
curl -s https://timestampgit.dev/api/statusLast/{user}/{repo}
curl -s https://timestampgit.dev/api/statusCount/{user}/{repo}
curl -s https://timestampgit.dev/api/statusSummary/{user}/{repo}
statusLast returns the last anchored Bitcoin block, statusCount returns the total count of committed and stamped commits, and statusSummary bundles the data for Shields.io.
If you want the deeper, offline walkthrough of turning a .ots file into a verified Bitcoin block height, we cover that separately in How to Verify a Bitcoin Timestamp Proof Locally.
Troubleshooting Common Setup Issues
No proofs appearing after 24 hours. Confirm the app actually has access to the correct repository (check /repos), and confirm that at least one commit was pushed after installation. Commits that predate the install were never sent to the hash queue.
Badge renders as “unknown”. Check the repository slug in the badge URL. For private repositories, make sure the encrypted HMAC component is present — a stripped-down URL will fail authorization and return no status.
Shadow repo pushes fail. Timestamp GIT needs read-write access to the target repository. Re-check the installation permissions on the shadow repo specifically; source-repo permissions don’t extend to it.
Enterprise ZK mode produces nothing. In that mode there’s no webhook-based commit detection. If the GitHub Action isn’t installed in the source repository and actively pushing hashes to the API, no hashes ever reach the service.
Proofs are late by a few hours. Expected. The batch runs at midnight and Bitcoin confirmation typically takes around three hours. Delays here are blockchain timing, not a failure.
FAQ
Do I need to install any CLI tools or run OpenTimestamps commands?
No. Timestamp GIT is a managed GitHub App: you install it once, and every commit to a monitored repository is automatically anchored into Bitcoin each night. There are no CLI tools, no OpenTimestamps commands, and nothing to install on developer machines.
Can I use the GitHub App with private repositories?
Yes. Private repositories are supported on the Pro Agency plan. Status URLs for private repos append an encrypted HMAC so only authorized users can view the proof status.
How long does it take before my first timestamp proof appears?
Commits are batched and anchored by a midnight cron worker. Bitcoin confirmation typically takes around three hours, so the manifest and .ots receipt files are pushed back to your repository a few hours after the batch runs.
What happens to my proofs if Timestamp GIT shuts down?
The proofs are vendor-independent. They rely only on SHA-256 and Bitcoin block data via the OpenTimestamps protocol, so you can verify them offline using standard tools even if the service no longer exists.
Conclusion
The whole point of a GitHub App blockchain timestamp setup is that it should be boring: install once, select a repo, choose where proofs go, and let a nightly job do the rest. Everything after step two is waiting for Bitcoin to confirm.
At that point you have something most teams don’t — mathematically undeniable proof of when your code existed, verifiable offline, without your source ever leaving your repository. That’s prior art you can hand to a lawyer, an auditor, or a client without a single developer changing their workflow.
Install the GitHub App on your most valuable repository first, then expand from there. If you’d rather run it inside your own perimeter, the Docker self-hosted license is the same product with your infrastructure underneath it.
Related posts
- Are Git Commit Timestamps Reliable for Legal Proof?
- How to Verify a Bitcoin Timestamp Proof Locally
- GitHub App That Timestamps Commits Automatically