How to Prove Prior Art for Software: A Developer’s Guide
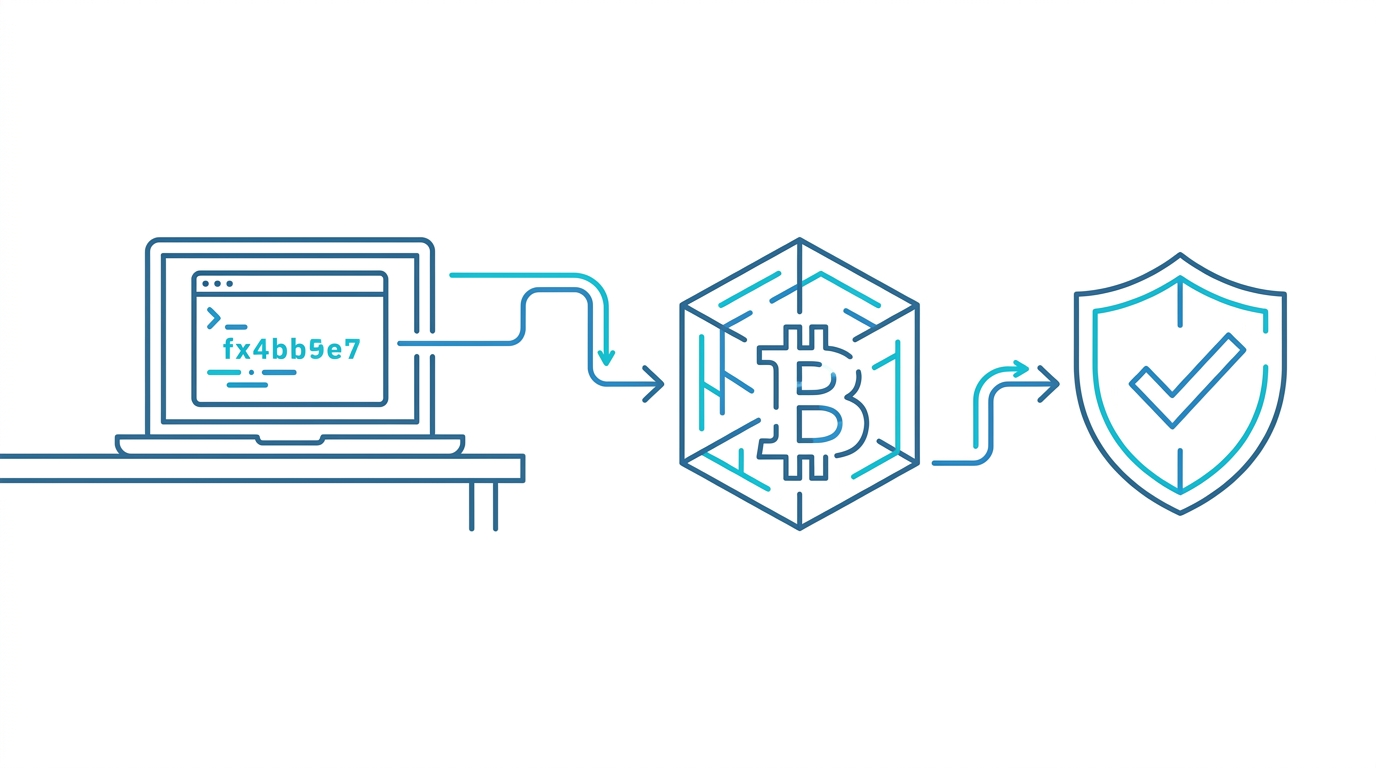
Proving prior art for software comes down to one precise question: can you show that a specific Git commit existed on a specific date, with evidence that no internal server, repository admin, or third party can alter? This guide walks through exactly how to create that evidence without exposing your source code.
You’ll use Timestamp GIT, a managed service and GitHub App that anchors your Git commit hashes into the Bitcoin blockchain via the OpenTimestamps protocol. The workflow is install once, commit normally, and let automated nightly anchoring produce immutable .ots receipt files.
By the end of this guide, you will have:
- Installed the GitHub App on the repositories you want to protect.
- Configured where cryptographic proofs are delivered.
- Triggered and confirmed a Bitcoin-anchored timestamp for a real commit.
- Verified the proof through a public dashboard and badge.
- Troubleshot the most common permission and delivery issues.
Prerequisites
Before you start, make sure you have:
- A GitHub account and at least one repository you want to protect.
- Basic familiarity with Git commits and hashes. You do not need cryptography or blockchain experience.
- A Timestamp GIT account. Public repositories use the free plan; private repositories require the Pro Agency plan at $49/month or Enterprise ZK at $199/month.
- Optional: Docker if you plan to self-host Timestamp GIT in an air-gapped or enterprise environment.
Step-by-Step: Setting Up Timestamp GIT
The managed path requires nothing on your developer machines. You install the GitHub App once, select repositories, and every commit is then anchored into Bitcoin automatically each night.
Step 1: Sign Up and Connect GitHub
Go to Timestamp GIT and sign in with your GitHub account. The managed SaaS flow is the default path.
If you are self-hosting, start with the Docker Compose quick start:
services:
  timestampgit:
    image: rue1401/timestampgit:prod
    ports:
      - "8080:8080"
    volumes:
      - ./data:/app/data
    restart: unless-stopped
  valkey:
    image: valkey/valkey:8
    restart: unless-stopped
Then run:
docker compose pull
docker compose up -d
docker compose logs -f timestampgit
The self-hosted app is available at http://localhost:8080. On first launch, a setup wizard guides you through connecting your GitHub App and applying a license file.
Step 2: Install the Timestamp GIT GitHub App
Install the GitHub App on the repositories you want to protect.
In standard mode, Timestamp GIT needs read-only access to the source repository. This is not because it reads your code—it only reads the HEAD commit hash—but because GitHub’s permission system does not expose a hash-only access level.
If proofs are delivered to a separate target repository, the app also needs read-write access to that target repository.
Step 3: Select Repositories to Monitor
From the Timestamp GIT dashboard, open the Your Repositories page and select the repositories you want to monitor.
Each selected repository is added to the nightly proof pipeline. Timestamp GIT does not inspect file contents, source code, or branch contents beyond the commit hashes needed for anchoring.
Step 4: Configure Proof Delivery
For each monitored repository, choose where the cryptographic proofs should be written:
- A dedicated timestamp branch inside the same repository.
- A separate shadow repository, which can be private even if the source repository is public.
Timestamp GIT writes manifest files and .ots receipts to that location after the daily anchor is confirmed.
Step 5: Optional: Enable Enterprise ZK Mode
For teams that require zero source-code access, Enterprise ZK mode is a stronger deployment model.
During setup, Timestamp GIT generates a 12-line GitHub Action workflow. You add that generated file to your repository under:
.github/workflows/timestampgit.yml
The action runs on your own infrastructure, not on Timestamp GIT’s systems. It pushes only the commit hash to the Timestamp GIT API. In this mode, Timestamp GIT needs no read access to the source repository at all—only read-write access to the target repository where proofs are delivered.
Step 6: Make a Commit to Trigger the Process
Once monitoring is configured, commit and push normally:
git add .
git commit -m "feat: add payment webhook handler"
git push origin main
In standard mode, the GitHub App detects the new HEAD commit hash automatically. In Enterprise ZK mode, the GitHub Action sends the hash from your CI environment.
Step 7: Wait for the Nightly Bitcoin Anchor
Timestamp GIT batches pending commit hashes in an in-memory queue. Each night, a worker:
- Groups pending hashes per repository.
- Creates daily manifest files.
- Builds a Merkle tree from the commit hashes.
- Creates OpenTimestamps proofs using public OTS calendars.
- Anchors the Merkle root into the Bitcoin blockchain.
Bitcoin confirmation normally takes around 3 hours. After confirmation, the manifest and .ots receipt files are pushed to your configured timestamp branch or shadow repository.
How to Confirm It Worked
Once the nightly run completes, you can verify the proof in several ways.
1. Inspect the Timestamp Branch
Fetch the timestamp branch and confirm that manifest files and .ots receipts are present:
git fetch origin timestamps
git ls-tree -r --name-only origin/timestamps | head
The exact branch name depends on your configuration, but the important signal is the presence of .ots files paired with daily manifest data.
2. Use the Public Verification Page
Timestamp GIT provides a browser-based verification page where all Merkle chain computation happens locally in your browser:
https://timestampgit.dev/verification/{user}/{repo}/{date}
Replace {user}, {repo}, and {date} with your repository and the date you want to verify.
3. Check the Status API
You can confirm the latest anchored Bitcoin block through the public status endpoint:
curl https://timestampgit.dev/api/statusLast/acme/widget-api
The response includes the last anchored Bitcoin block information for the repository.
4. Download a PDF Certificate
For a specific day, download a PDF certificate from:
https://timestampgit.dev/api/report/{user}/{repo}/{date}
The audit ledger for the repository is also available as CSV:
https://timestampgit.dev/api/audit/{user}/{repo}
5. Embed a Verification Badge
The Timestamp GIT dashboard provides badge URLs and copy-paste Markdown snippets for your README. Private repositories append an encrypted HMAC to badge URLs so only authorized viewers can see status information.
The badge links to a public verification page where anyone can inspect the proof. The .ots file itself remains a standard OpenTimestamps receipt, so technical auditors can also download it and verify it independently against the Bitcoin blockchain using standard OpenTimestamps tools.
Troubleshooting Common Issues
No proofs after 24 hours
Check the GitHub App permissions. Standard mode needs at least read-only access to the source repository. Also confirm that the repository is still selected in the Timestamp GIT dashboard.
Private repository status is not visible
Private repositories use HMAC-signed URLs. Make sure the badge or status link comes from the Timestamp GIT dashboard and includes the HMAC parameter. The HMAC is specific to the server instance that generated it.
Enterprise ZK action is not delivering proofs
Verify that the generated workflow file is present at .github/workflows/timestampgit.yml and that the GitHub Action is installed in the repository. The target repository where proofs are delivered must have read-write access from your action configuration.
Self-hosted Docker instance is not producing timestamps
Confirm the license file was uploaded during the setup wizard. Also check that the instance has the required network connectivity for GitHub App OAuth and timestamp anchoring.
Proof verification fails
Make sure you are verifying the correct .ots file and date. A receipt for one repository and date will not validate a commit from a different day or repository.
FAQ
Q: What is prior art in software?
A: Prior art is evidence that your invention, such as code, an algorithm, or a design, existed before a certain date. It is typically used to invalidate patent claims or prove authorship.
Q: How does Bitcoin anchoring prove prior art?
A: Your Git commit hash is embedded into a Bitcoin transaction via the OpenTimestamps protocol. Once confirmed in a block, the timestamp is immutable and verifiable by anyone, proving that the hash existed at that time.
Q: Is Timestamp GIT free for open source projects?
A: Yes. Timestamp GIT offers a free plan for public repositories. Private repositories require a paid plan, either Pro Agency or Enterprise ZK.
Q: Can I use Timestamp GIT without exposing my source code?
A: Yes. In standard mode, only commit hashes are read—not source code. In Enterprise ZK mode, a GitHub Action pushes only hashes from your own infrastructure, so source code never leaves your environment.
Q: How long does it take for a timestamp to be confirmed?
A: The nightly worker groups and anchors hashes after midnight. Bitcoin confirmation normally takes around 3 hours after the anchor transaction, so expect the .ots proof files to appear shortly after that.
Conclusion
Git history alone is not strong prior-art evidence because it can be edited, deleted, or dismissed as self-serving. A Bitcoin-anchored OpenTimestamps receipt is mathematically harder to ignore.
Timestamp GIT makes this practical for working developers: install the GitHub App once, select a repository, and continue committing as usual. Nightly anchoring, proof delivery, badges, PDF certificates, and audit CSVs are handled automatically. You never need to run OpenTimestamps commands or manually interact with the Bitcoin blockchain.
Get started with public repositories for free at Timestamp GIT.
Related posts
- How to Protect Your Software from Patent Trolls
- Skip the CLI: A Better Way to Timestamp Git Commits
- Self-Hosted Git Timestamping with Docker: A Guide