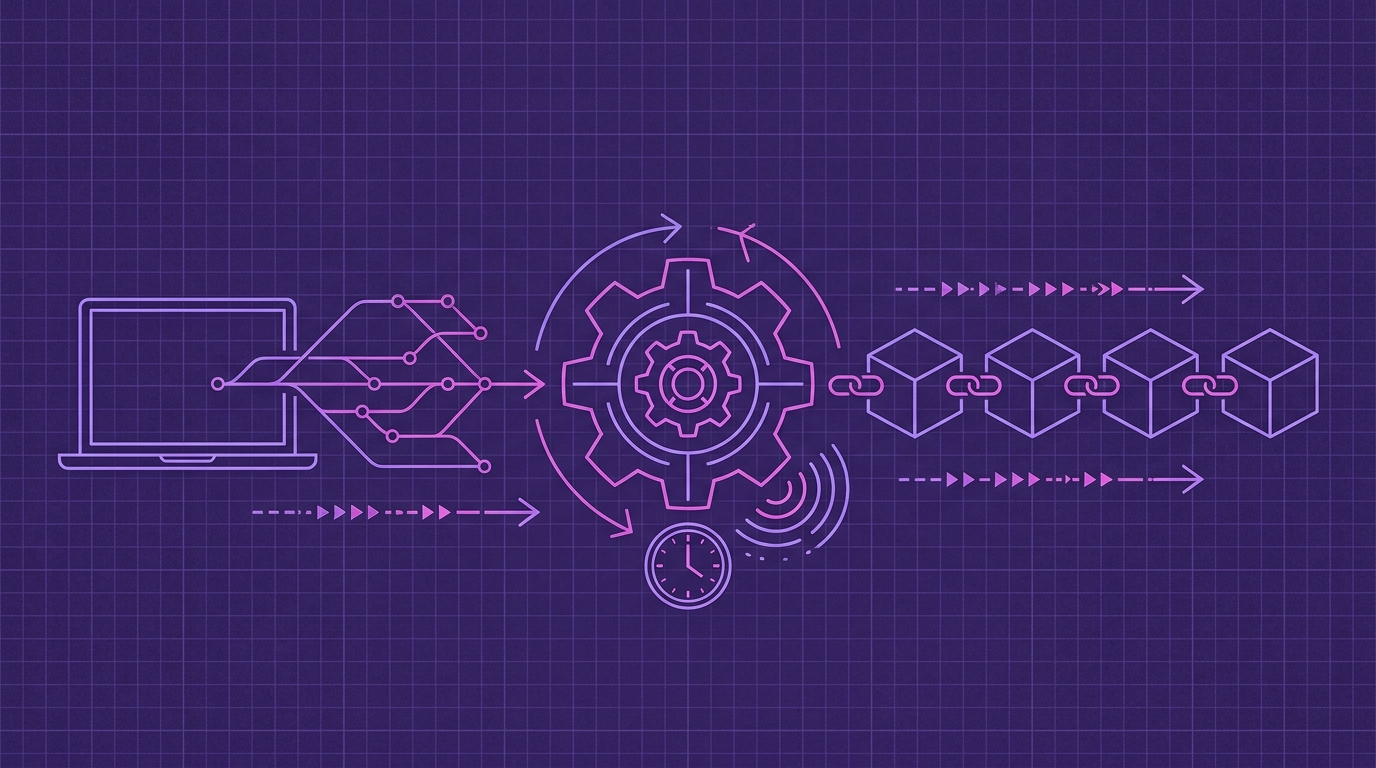
Install a GitHub App to Timestamp Your Commits Automatically
You already automate builds, tests, linting, and deployment. So why would you still manually timestamp commits when you need to prove prior art? The hard way is running protocol tooling commit-by-commit and keeping track of proof files yourself. Timestamp GIT replaces that with a managed GitHub App that timestamps every commit automatically and anchors it to the Bitcoin blockchain.
The workflow is deliberately boring after setup: install the GitHub App once, select the repositories you want to monitor, and let the nightly pipeline create .ots proof receipts. There is no CLI to install on developer machines, no manual command to remember before a release, and no fragile local timestamp archive.
This article covers the one-time setup, what happens between commit and Bitcoin anchor, how to monitor the proofs, and the practices that keep your evidence courtroom-safe.
One-Time Setup: Connect the GitHub App
The automation begins with a single installation. After that, the GitHub App for timestamping commits does the repetitive work for you.
1. Install the Timestamp GIT GitHub App
Install the app on your personal account or organization from the Timestamp GIT dashboard. During installation, you grant repository access just like any other GitHub App.
In standard mode, the app requires:
- Read access to the source repository. GitHub does not offer a commit-hash-only permission, so the app needs at least read-only access to detect commit hashes.
- Write access to the target repository or branch. Proof files need somewhere to live. That can be a dedicated
timestampsbranch in the source repo or a separate shadow repository.
Even with read access, the app reads only the HEAD commit hash of monitored repositories. It does not read source files, diffs, issues, or pull request contents.
2. Select repositories to monitor
After installation, choose the repositories that should receive automatic timestamping. Public repositories are available on the free plan. Private repositories require a paid Pro or Enterprise plan, depending on your security and compliance needs.
There are no application code changes. You do not install anything on developer machines, and your team does not need to change their commit workflow.
3. Choose proof delivery
By default, the app creates a dedicated Git branch or shadow repository for proof artifacts. That keeps the evidence separate from your main source history and avoids polluting pull requests with .ots files.
Enterprise ZK mode: zero code access
If your code is proprietary, regulated, or air-gapped, Enterprise ZK mode is the stricter option. A 12-line GitHub Action runs on your infrastructure and pushes only the commit hash to the Timestamp GIT API.
In this mode, the Timestamp GIT app does not need read access to your source repository at all. You install the GitHub Action, and only commit hashes leave your environment. Your source code never does.
Optional: Docker self-hosted mode
For maximum control, Timestamp GIT is also available as a Docker image. This is useful for air-gapped environments or organizations that must keep all infrastructure on-premises.
A minimal Compose setup looks like this:
services:
  timestampgit:
    image: rue1401/timestampgit:prod
    ports:
      - "8080:8080"
    volumes:
      - ./data:/app/data
    restart: unless-stopped
  valkey:
    image: valkey/valkey:8
    restart: unless-stopped
Bring it up with:
docker compose pull
docker compose up -d
docker compose logs -f timestampgit
The application is available at http://localhost:8080. On first launch, a setup wizard guides you through connecting your GitHub App and configuring the instance.
The Automated Pipeline: From Commit to Bitcoin Anchor
Once the GitHub App is installed, the timestamping process runs on its own.
Step 1: Commit detection
In standard mode, the GitHub App detects new commits through webhooks. In Enterprise ZK mode, your GitHub Action pushes commit hashes to the API as part of CI/CD.
Either way, the only data that enters the Timestamp GIT pipeline is the commit hash.
Step 2: Nightly batching and Bitcoin anchoring
Commit hashes are stored in an in-memory key-value store for batching. Each night, a cron worker:
- Groups all pending commit hashes.
- Creates a manifest file for each repository.
- Builds a Merkle tree from the daily batch.
- Creates OpenTimestamps proofs using public OTS calendars.
- Anchors the Merkle root into the Bitcoin blockchain.
The per-day Merkle root is what gets embedded into Bitcoin. Once that transaction confirms, the hash is permanently frozen in a specific Bitcoin block.
Step 3: Proof delivery
After the Bitcoin transaction confirms, Timestamp GIT pushes the manifest and .ots receipt files back to the dedicated timestamps branch or shadow repository.
Bitcoin confirmation normally takes around three hours after the nightly batch is submitted. That means a commit made during the day will typically have a proof file available by the next day.
Step 4: Status and verification
You can see anchor history from the repository status dashboard. The public dashboard shows:
- Proof longevity
- Earliest anchor date
- Daily anchoring regularity
- Bitcoin block and transaction data
- A calendar heatmap
- Downloadable audit CSV and PDF certificate
For programmatic access, public status endpoints are available:
# Last anchored Bitcoin block information
curl -s https://timestampgit.dev/api/statusLast/acme/payments-api

# Total committed and stamped commit count
curl -s https://timestampgit.dev/api/statusCount/acme/payments-api

# Combined summary for Shields.io badges
curl -s https://timestampgit.dev/api/statusSummary/acme/payments-api
The product also provides an authenticated badge endpoint so you can generate README badges with one request. For private repositories, badge URLs include an encrypted HMAC so that only authorized users can see the status.
Monitoring and Failure Handling
Automation does not mean ignoring the system. You should monitor anchor regularity the same way you monitor CI health.
The status dashboard is the fastest place to spot a missing day. If a nightly batch does not produce a proof, the missing date will be visible as a gap in the calendar heatmap and in the daily regularity view.
For programmatic checks, the same endpoints above can feed into your internal monitoring:
- Use
/api/statusLast/{user}/{repo}to confirm the most recent Bitcoin anchor. - Use
/api/statusCount/{user}/{repo}to compare stamped commits against your expected commit count. - Use
/api/audit/{user}/{repo}to download the full audit ledger as CSV.
Example:
# Download the full audit ledger
curl -OJ https://timestampgit.dev/api/audit/acme/payments-api

# Download a PDF certificate for a specific date
curl -OJ https://timestampgit.dev/api/report/acme/payments-api/2026-09-13
Because the system batches hashes at midnight and Bitcoin confirmation takes around three hours, do not treat a newly pushed commit as fully timestamped until the proof file appears in the timestamps branch.
Finally, anyone can independently verify a .ots file against the Bitcoin blockchain. The proof relies on standard OpenTimestamps receipts and Bitcoin block data, so verification does not depend on Timestamp GIT remaining available.
Best Practices for Automated Timestamping
1. Enable it on all critical repositories
Timestamping only public repositories leaves private internal work unprotected. Patent trolls and employee disputes often involve proprietary systems that never leave your infrastructure. Use the private repo plans or Enterprise ZK mode for those.
2. Use Enterprise ZK mode for trade secrets
If a repository contains trade secrets or regulated code, do not grant any third-party app read access to it. Use the GitHub Action so that only commit hashes leave your environment.
3. Protect the timestamps branch
The .ots receipts and manifest files are your evidence. Treat the dedicated timestamps branch or shadow repository as immutable evidence storage. Restrict write access to the app and required administrators.
4. Archive audit records regularly
Download audit CSVs and PDF certificates on a schedule, such as quarterly or before major releases. Keep copies in your compliance or legal archive. The blockchain proof exists independently, but having the audit trail organized makes legal review much easier.
5. Add a verification badge to your README
Public verification badges are a simple way to signal that a repository has automatic timestamping enabled. Use the badge link from the dashboard or authenticated API to embed a Shields.io badge in your README.
FAQ
Does the GitHub App read my source code?
No. In standard mode, the app reads only the HEAD commit hash. In Enterprise ZK mode, a GitHub Action on your side pushes only the commit hash to the API, so the app never has any access to your repository.
How long does it take for a commit to be timestamped?
Commits are collected throughout the day and anchored to Bitcoin in a nightly batch. After the batch is submitted, Bitcoin confirmation typically takes about 3 hours. You receive the .ots proof file once confirmed.
Can I verify the timestamp without using Timestamp GIT?
Yes. The proofs are standard OpenTimestamps .ots files. Anyone can download the file and verify it locally against the Bitcoin blockchain using open-source tools. Timestamp GIT also provides a web-based verifier and PDF certificates.
Is self-hosting available?
Yes. Timestamp GIT offers a Docker image for self-hosting, suitable for air-gapped or highly regulated environments. A time-limited demo license is available upon request.
Conclusion: Set It and Forget It
Manual timestamping is fragile because it depends on someone remembering to do it. A GitHub App-based pipeline removes that failure mode.
With Timestamp GIT, you install once, select repositories, and let the nightly worker anchor commit hashes to Bitcoin. Your team keeps writing code normally. The evidence accumulates automatically as .ots files, audit reports, and status badges.
Install the Timestamp GIT GitHub App today, or start with the free plan for public repositories. Pro and Enterprise plans are available for private repositories and stricter zero-knowledge deployments.
Related posts
- How Startups Can Protect Their Software IP Without Patents
- Free Open Source Git Timestamping with Timestamp GIT
- What Is Cryptographic Timestamping and How Does It Protect Your Code?